This article explains how to message customers. Before you get started, it might be helpful to learn:
And how to:
Although you can use the Instant Resolve button to resolve a customer issue without sending a message to them, sending a personalized message is a great way to put a human touch on your customer service interactions. If their issue was simple or they just had a question, a quick thank you is a fast (especially with canned responses) and easy way to wrap things up pleasantly.
However, if their issue was more complex, or if you just need more information from the customer to resolve their issue, you can message them directly while working with their support ticket.
To get started, first open a customer’s ticket, either from the queue screen or from the search screen.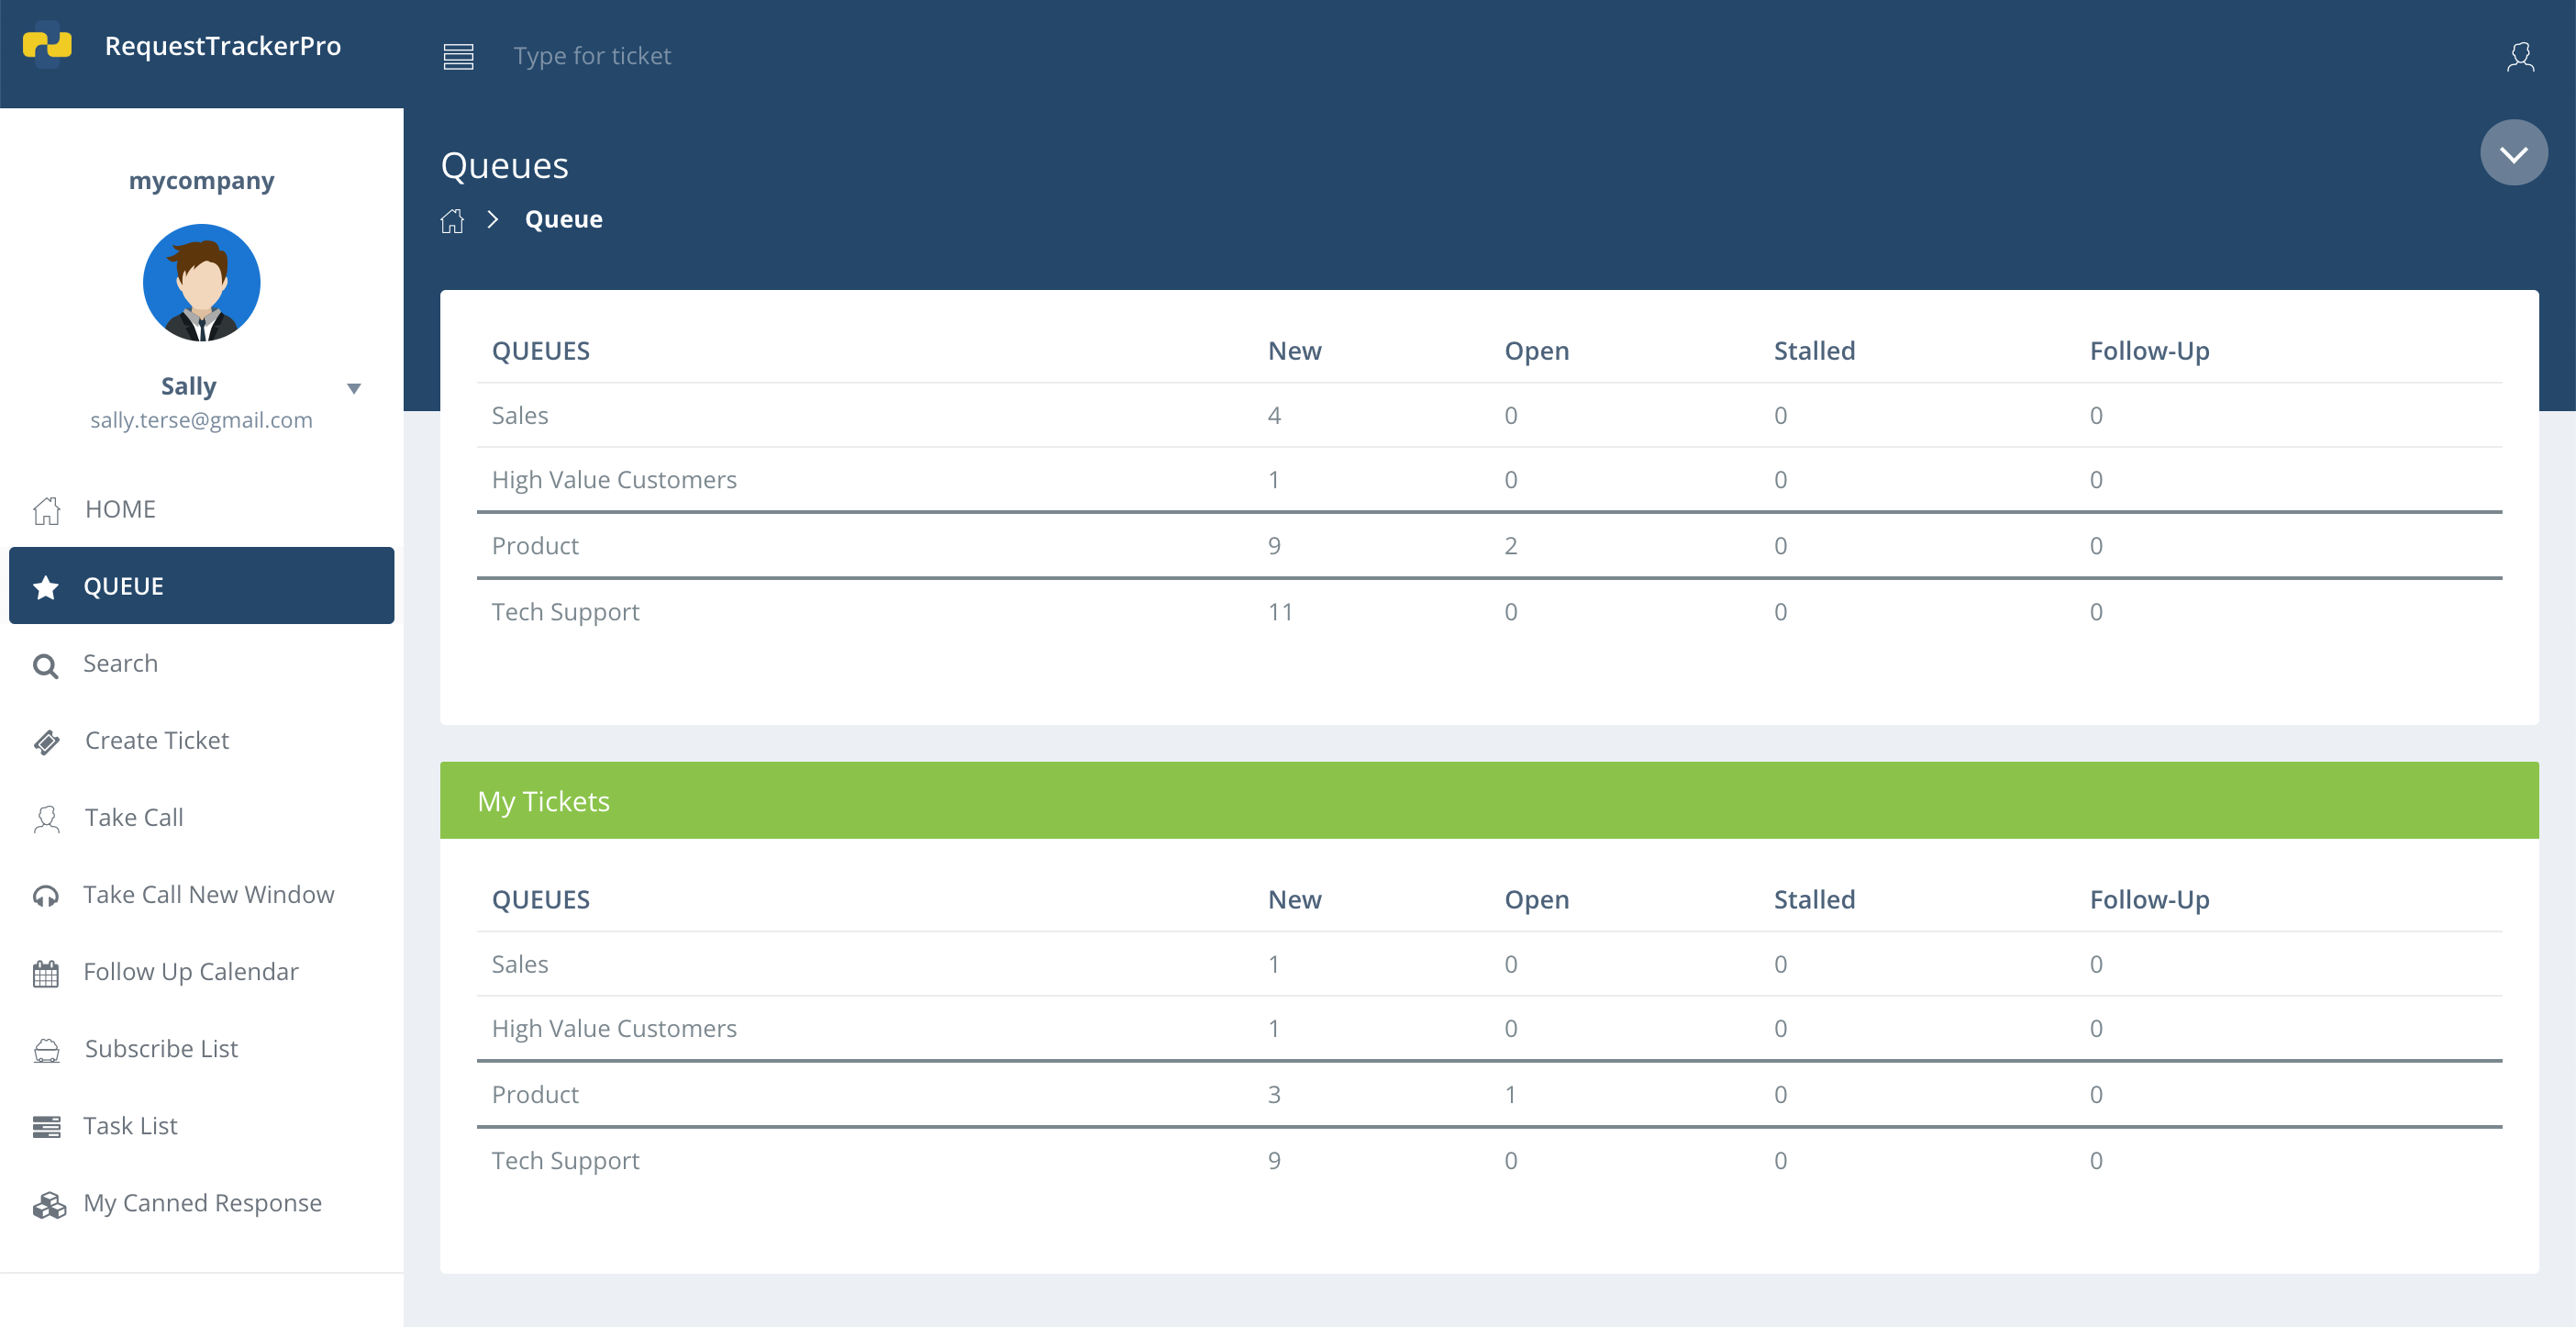
If the customer’s issue is resolved and you just want to send them a quick thank you or a status update, click Resolve. This will open the Customer Message panel.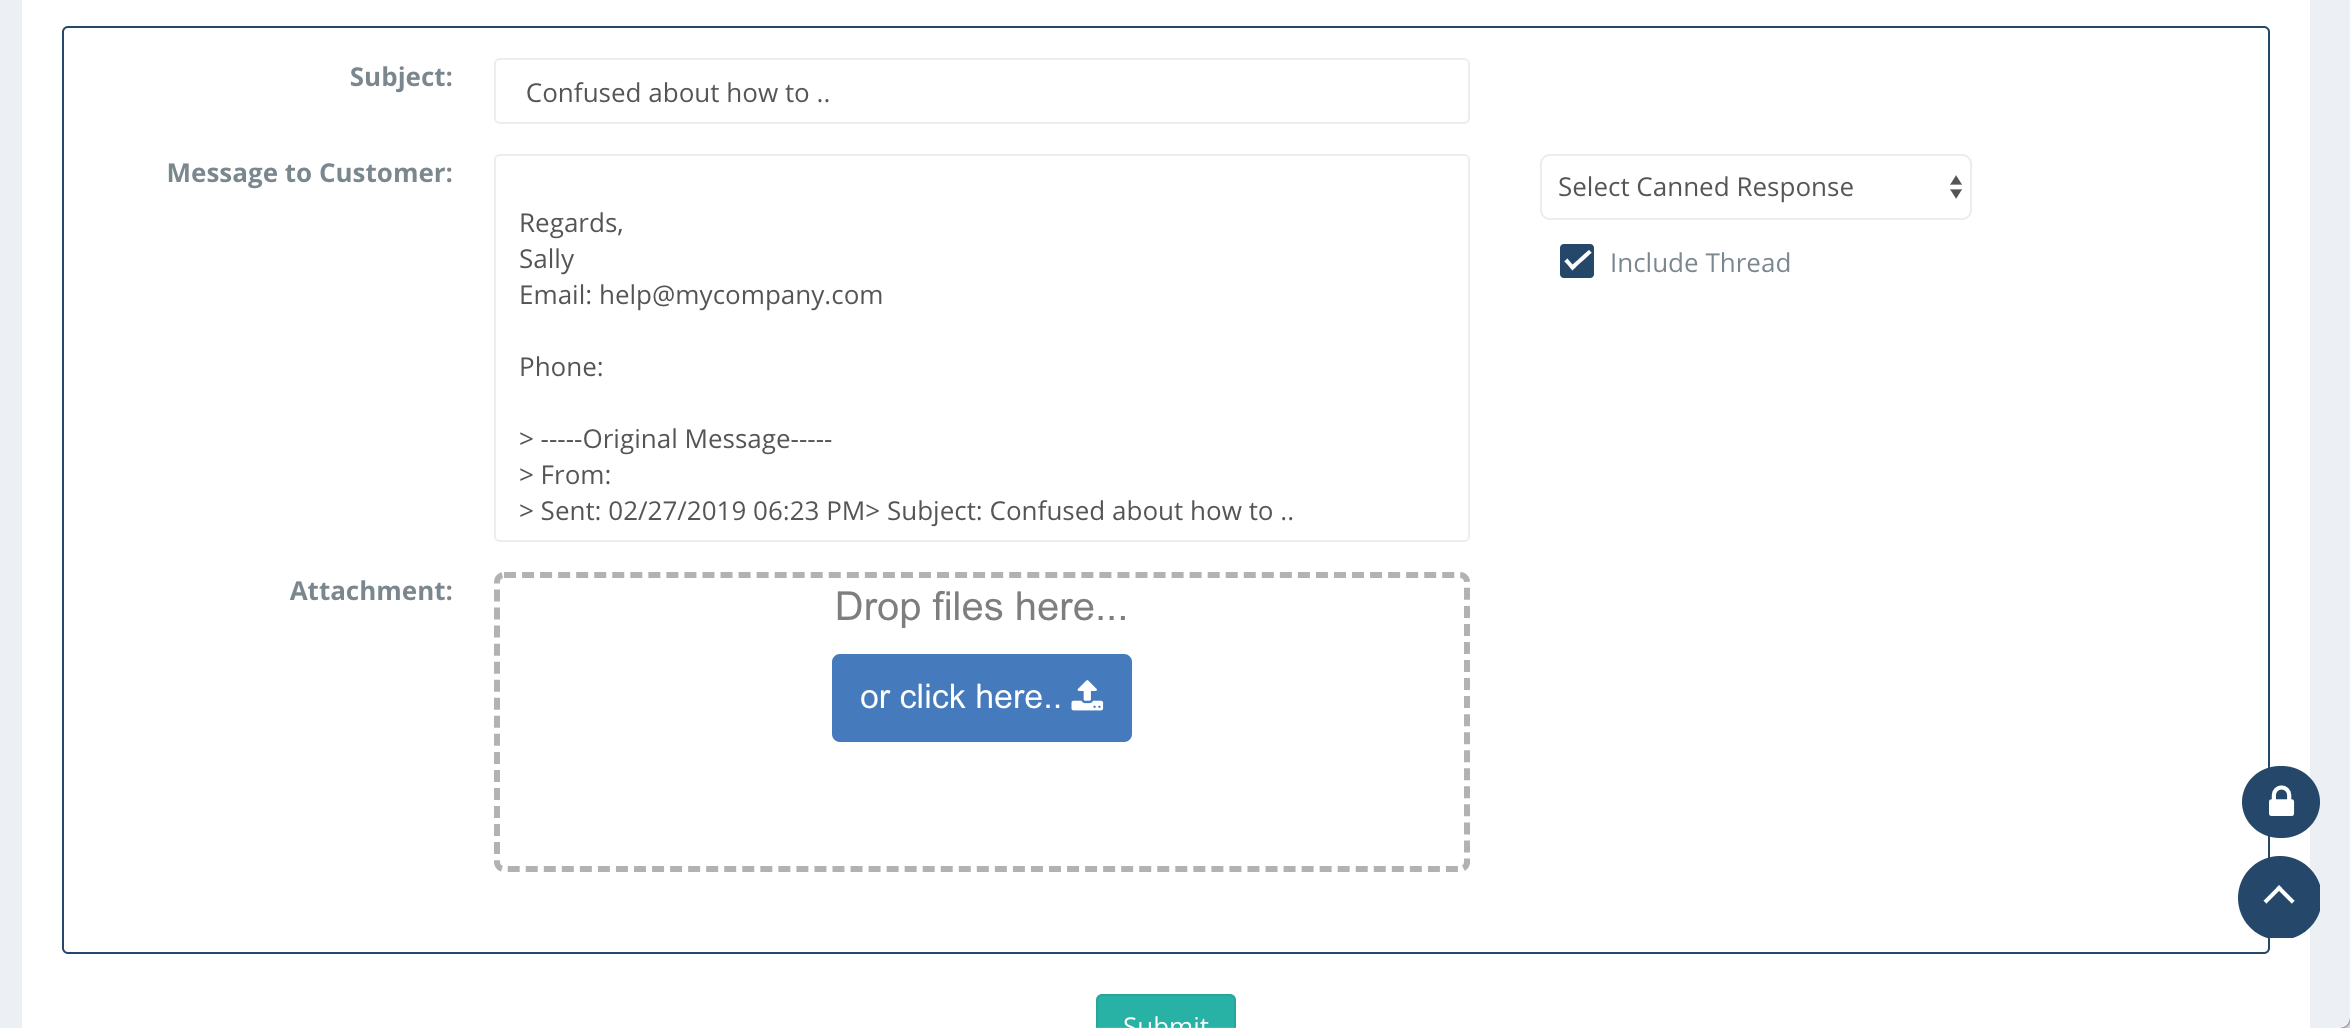
If you have a question for the customer or want to provide an explanation, then click the Reply button. This will open the Customer Message panel.
The Customer Message panel has the following fields and options:
- Subject: by default, this is the subject line of the original support email sent by the customer.
- Message to Customer: the content of the message you want to send to the customer. You can optionally use the Include Thread option to include a full thread of the correspondence your organization has had with the customer.
- Attachment: click and drag a file like a screen shot, PDF, or other relevant attachment here to send it to the customer.
- Select Canned Response: select from one of your available canned responses to include in the customer message. You can learn more here: Canned responses.
Once you’re satisfied with your message, click Submit. Note that if you selected the Resolve option, this will set the ticket’s status to Resolved.