This article explains how to create tickets in RequestTrackerPro. You can also learn:
And how to:
Although tickets are automatically generated when a customer emails or sends a message to your support SMS line, agents can also manually create new tickets.
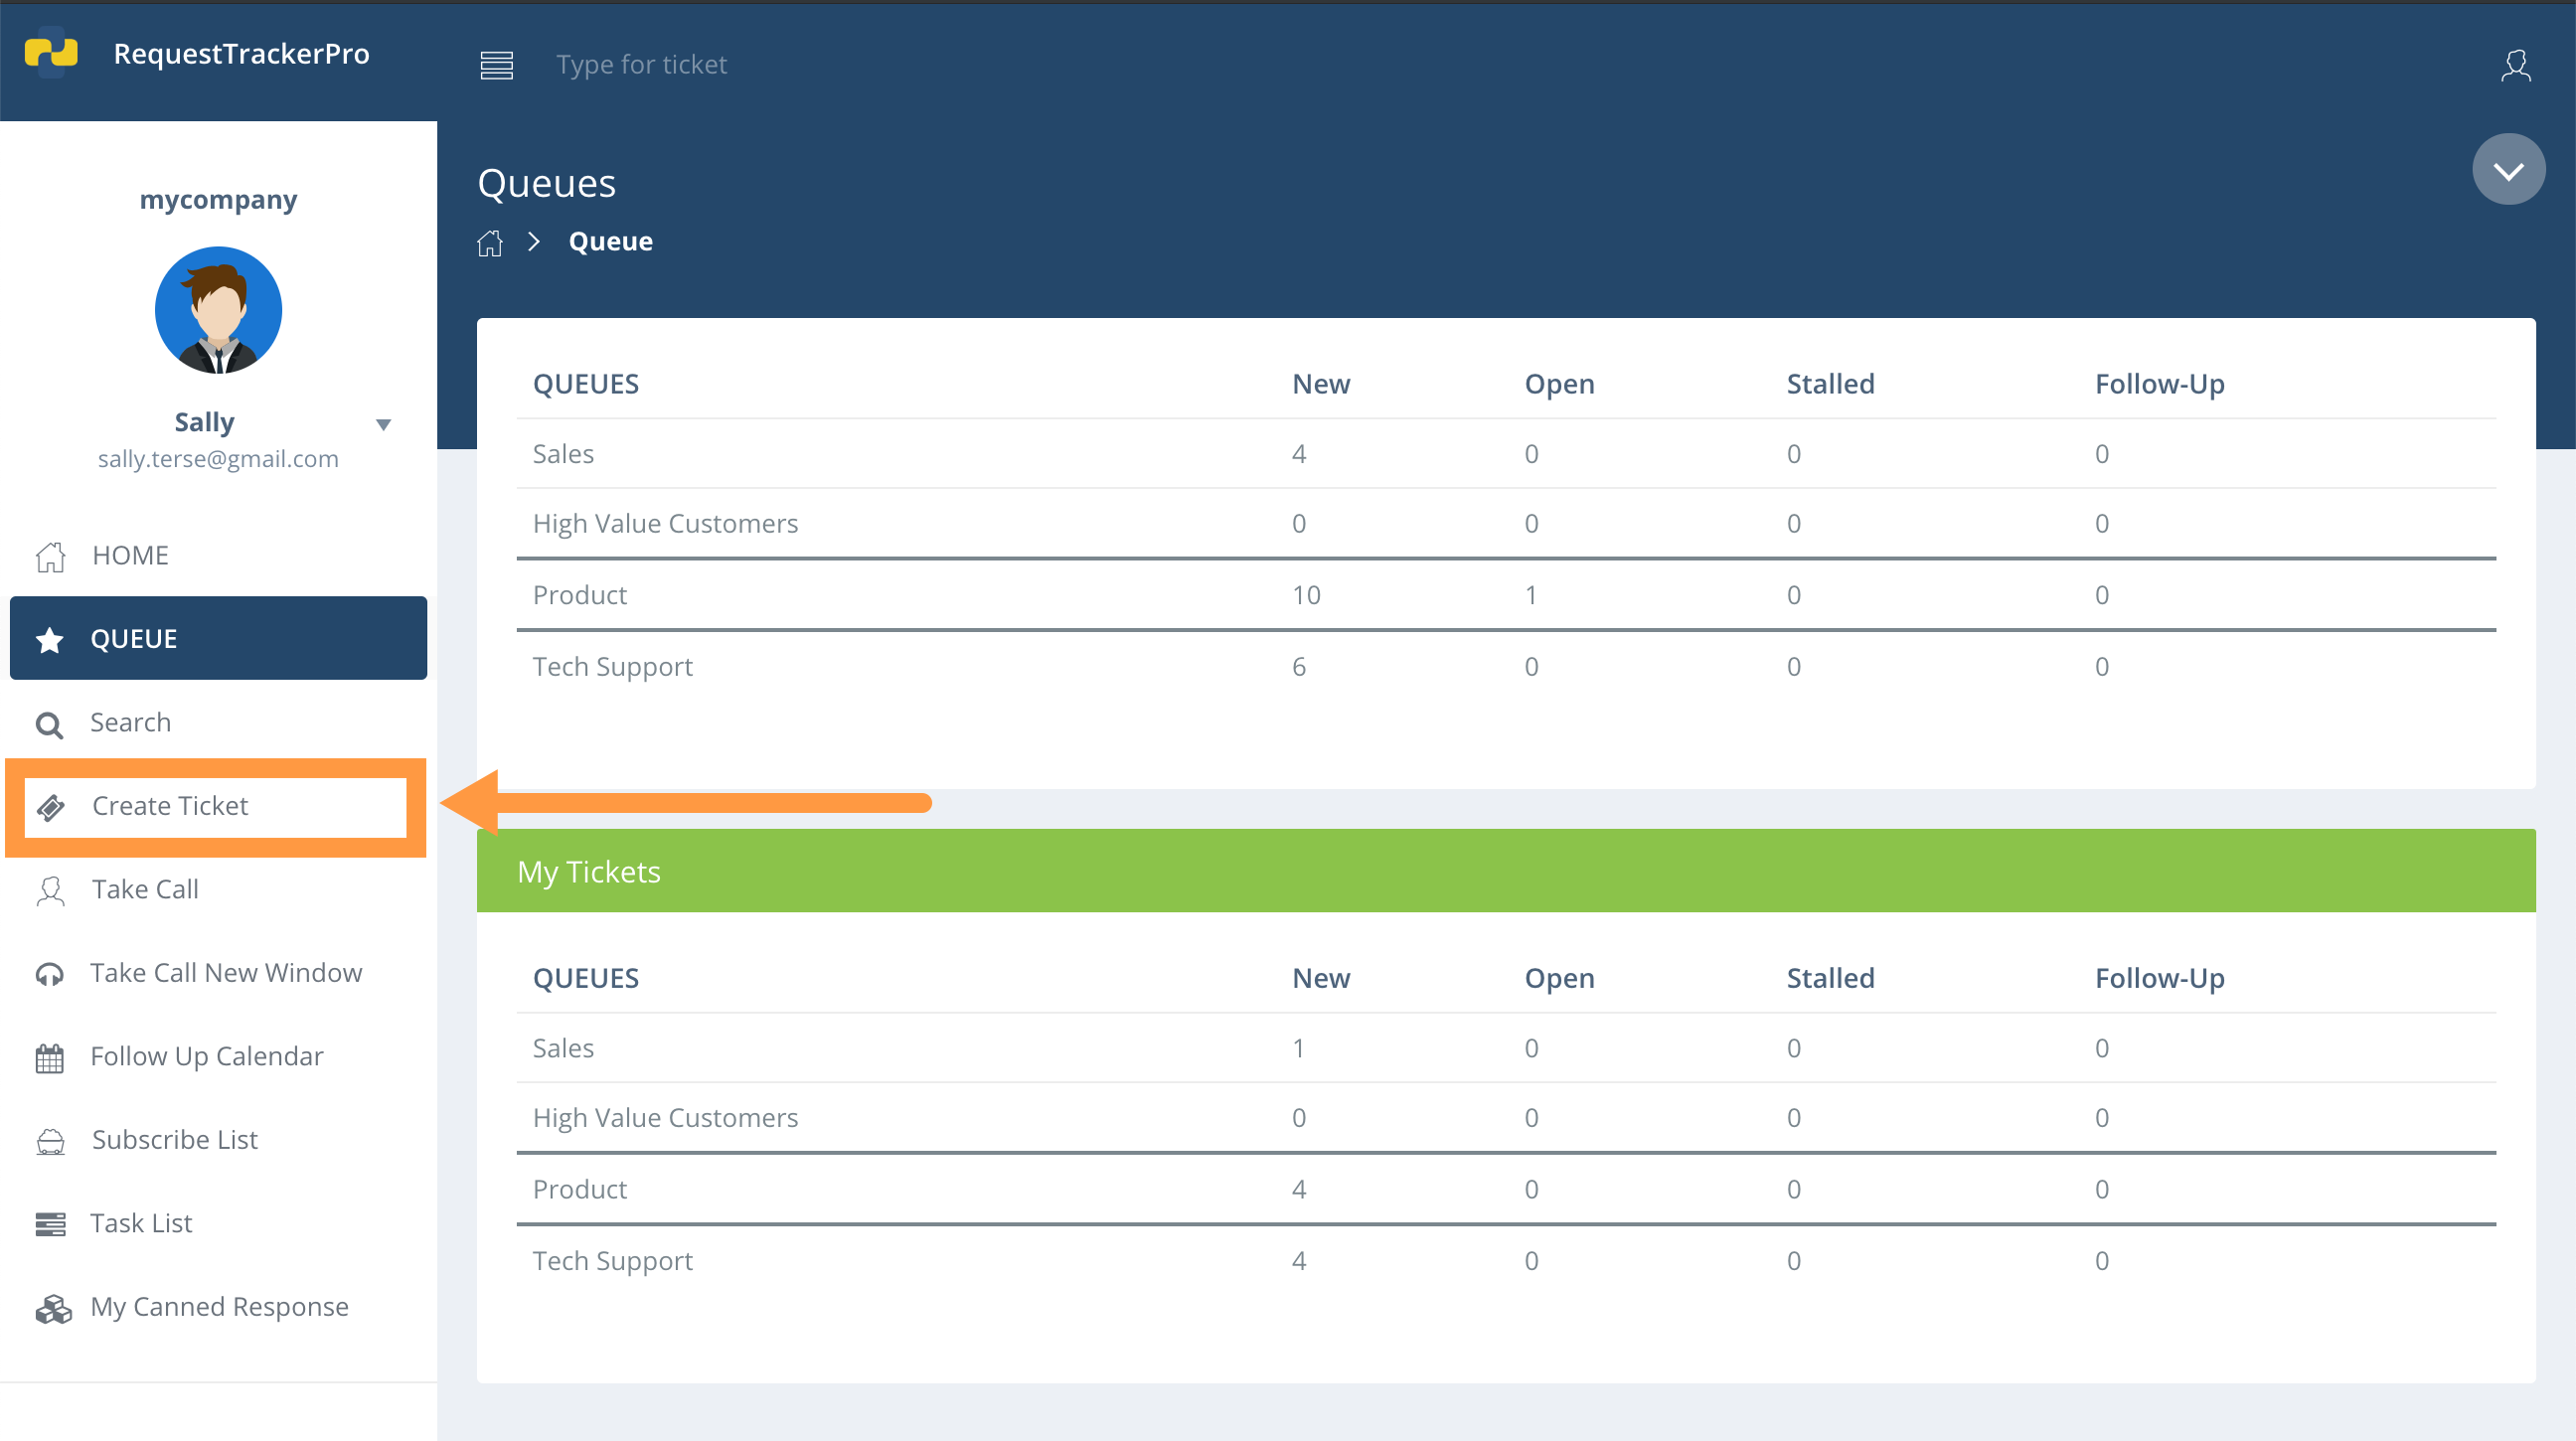
To get started, click Create Ticket from the dashboard.
Next, select which queue this ticket should be placed in, and click Ok.
Customer Information
Once the Create Ticket window appears, enter information for each of these fields:
- Customer Name: the name of the customer.
- Requestor: the contact method used to contact support.
- From: which email address customer responses should be sent from.
- Subject: the subject of the support message.
- Phone Number: optionally, a phone number for the customer.
Ticket Attributes
You can also specify a number of attributes for each ticket. Note that customers will not see ticket attributes, and is used for your organization to understand the status of the help request.
- Status: The progress this ticket has made towards resolution. Options include New, Open, Stalled, Resolved, and Follow-Up.
- Update Type: The type of update you’re making to the ticket. When a new support request comes in, it will automatically have the Customer Request type. Other options include Agent Response, Agent Comment, and Phone Call.
- Owner: the agent responsible for the ticket.
- Category: the category of the ticket.
- Notify Date: optionally, you can use this option to specify a date where the owner of the ticket should be reminded to check the ticket again. You can see a calendar of upcoming notify dates on the Follow Up Calendar.
- Content: Customers will not see this field, and it can be used for communication between customer support agents. This field accepts variables. Also, note that this field can be pre-populated with queue-specific content by your administrator.
Once you’re finished, click Submit.
This will add the ticket to the relevant queue.